

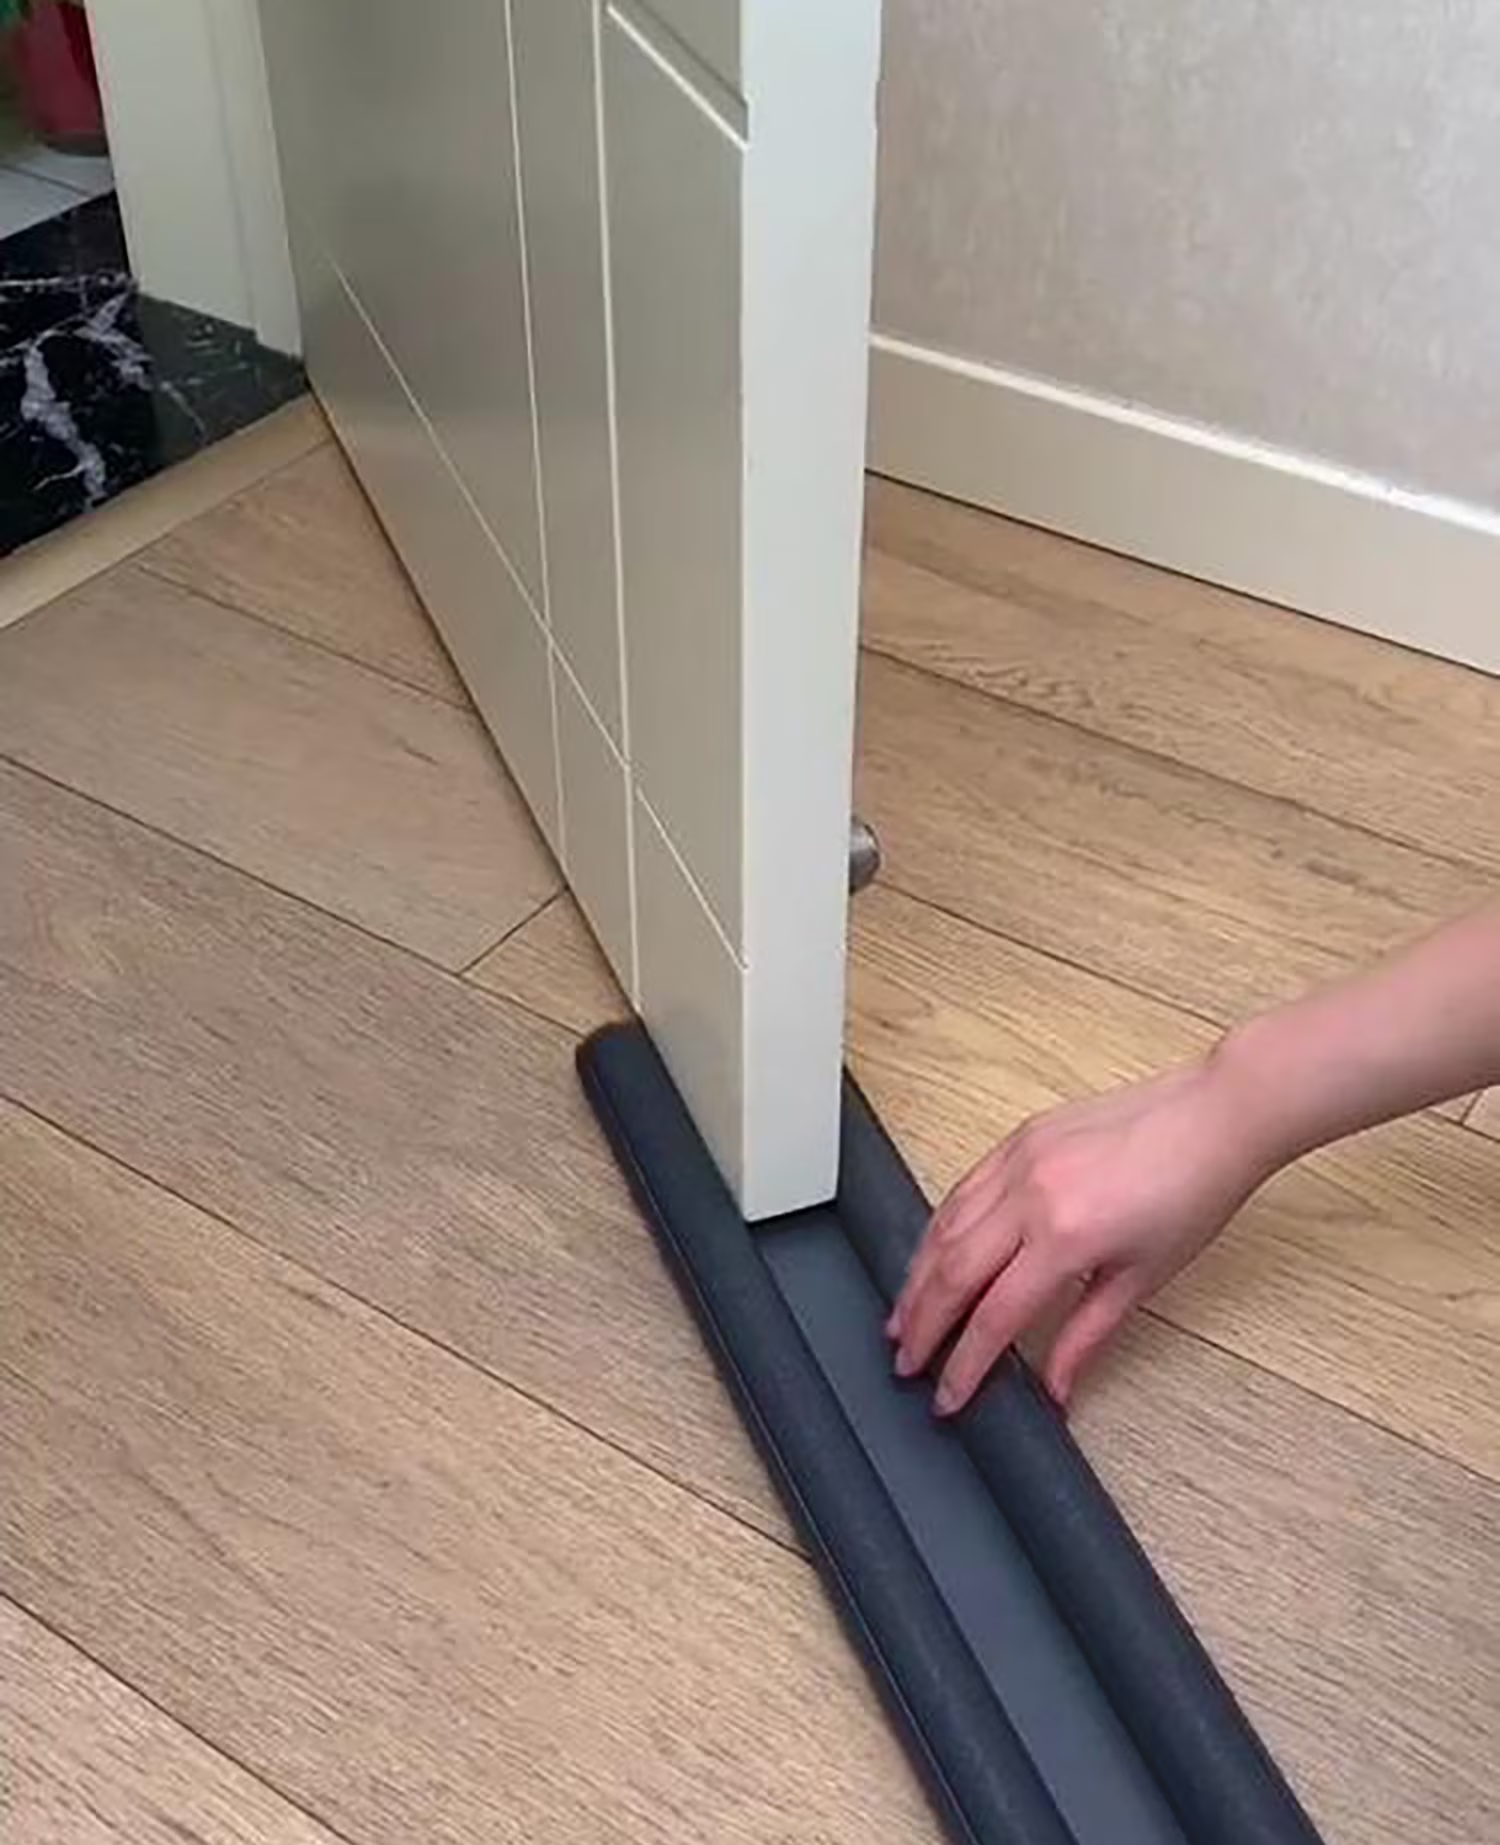
On a blustery winter night or a sweltering July afternoon, standing next to your front entrance can feel surprisingly like standing outside. You might catch a faint whistle when the wind picks up, see a slice of ambient daylight glowing around the door frame, or discover a trail of opportunistic ants marching across the entryway rug. Exterior doors represent the single largest movable puncture in a home’s building envelope. When the rubber, foam, or vinyl seals surrounding that portal deteriorate, the barrier between your conditioned living space and the outdoors collapses.
Most homeowners assume a drafty entryway stems from an out-of-square door frame, seasonal wood warping, or an aging slab that needs total replacement. In reality, the culprit is almost always worn weatherstripping.
Over five to ten years of daily foot traffic, door seals take a beating. They are crushed on every closure, baked by ultraviolet rays, and exposed to driving rain and temperature swings. The foam loses its rebound memory, the vinyl jackets split, and the door sweep along the threshold abrades into ribbons. Replacing these components is one of the highest-return DIY projects you can tackle in a single afternoon. With a basic set of hand tools, a few measured cuts, and an understanding of how door seals interact, you can restore thermal efficiency, shut out outdoor humidity, and lock pests out for good.
Diagnosing the Failure Points
Before heading to the home improvement store, you must identify precisely where and why your existing seal has failed. Air and insects follow the path of least resistance, which means a leak can be localized to a single corner or spread across the entire perimeter of the jamb.
The Visual and Tactile Audit
Start with a closed-door daylight inspection on a bright morning. Stand inside your darkened entryway and scan the perimeter where the door slab meets the wooden frame. If you can see even a pinprick or thin ribbon of natural sunlight along the top, side, or bottom threshold, air is moving freely through that gap. Wherever light can penetrate, so can drafts and crawling insects.
Next, perform the dollar bill test. Open the door, place a crisp bill flat across the weatherstrip, and close the door firmly, latching it as you normally would. Pull the bill straight out. If you feel firm, steady resistance, the compression seal along that section is intact. If the bill slides out easily with zero friction—or slips free under its own weight—the weatherstripping has lost its elasticity, has collapsed, or is not making contact with the door slab. Repeat this test at three or four heights along both the latch side and hinge side, as well as across the head jamb.
Finally, inspect the material physically. Squeeze the foam along the jamb. High-functioning weatherstripping should spring back instantly into a rounded, proud profile. If the foam feels stiff, powdery, or stays permanently flattened in a concave groove, its cellular structure has broken down.
Choosing the Right Replacement Material
Door weatherstripping is not a one-size-fits-all product. Different eras of home construction rely on entirely different mounting channels, and picking the wrong profile will either leave persistent gaps or make your door nearly impossible to latch.
Kerf-In Foam and Polyethylene Seals
If your home was built within the last thirty years, your exterior door frames most likely feature pre-hung jambs with a routed groove called a kerf.
Kerf-in seals consist of a high-density, flexible polyurethane foam core wrapped inside an embossed polyethylene jacket. Extending along the back edge is a rigid, barbed plastic spline designed to press directly into the kerf channel of the door frame. These seals are remarkably durable, resist tearing from dragging coats or packages, and do not rely on sticky adhesives that fail during summer heatwaves. When replacing kerf-in seals, always measure the reach—the depth of the foam bulb—which typically ranges from three-eighths to one-half inch.
Adhesive-Backed Foam and EPDM Rubber
Older wooden door frames often lack an integrated kerf channel. In these situations, surface-applied strips provide the most practical solution. However, avoid cheap, open-cell sponge tape. Open-cell foam absorbs moisture like a bath sponge, disintegrates rapidly under sunlight, and compresses flat within a few months of use.
Instead, invest in closed-cell EPDM rubber tape. EPDM resists ozone, moisture, and temperature extremes from sub-zero freezes to blistering heat. It commonly comes molded into tubular hollow profiles, such as “D-strip” or “P-strip” designs. The hollow channel provides soft, forgiving compression that creates an airtight seal without requiring brute force to latch the door handle.
Heavy-Duty Bronze and Metal Tension Strips
For historic and older homes featuring solid hardwood doors, tubular foam can look visually out of place. Spring-bronze or brass tension strips offer a timeless, permanent alternative.
These thin strips of tempered metal are fastened with small finish nails along the interior face of the door jamb. When the door swings closed, the edge of the slab presses the raised metal lip down; when the door opens, the bronze springs back outward to meet it. Spring bronze lasts for decades without degrading, will not rot, and easily withstands heavy canine scratching.
Preparing the Frame for a Clean Install
A new weatherstrip performs only as well as the surface beneath it. Rushing the removal and preparation phase is the most common reason replacement projects fail prematurely.
If you are removing old kerf-in weatherstripping, grasp the bottom edge of the strip on one of the side jambs and pull outward slowly at a steady forty-five-degree angle. The barbed spine should unseat from the channel without breaking. If the previous homeowner painted over the jamb, use a sharp utility knife to gently score the paint seam between the seal and the wood. Tearing it free without scoring can peel broad swaths of paint off the door jamb or snap the plastic spline inside the wooden groove.
Once the old material is gone, clear out the channel. Run an old putty knife or a stiff nylon brush through the kerf to dislodge collected sawdust, dirt, dried paint drips, and insect debris. Vacuum the groove thoroughly.
For adhesive-backed applications, surface cleanliness is everything. Remove all remaining adhesive residue using rubbing alcohol or an adhesive remover, scrape away peeling paint, and wipe the wood completely dry. Adhesive tapes will not bond to chalky latex paint, greasy handprints, or damp woodwork.
Step-by-Step Installation: Head and Side Jambs
Precision cuts make the difference between a draft-free seal and an unsightly, leaky perimeter. Always install the top head jamb piece first, followed by the two vertical side legs.
Measuring and Cutting the Pieces
Lay your new weatherstripping flat on a work table and measure the exact length of the upper horizontal head jamb using a rigid tape measure. Transfer that dimension to your replacement strip.
Do not use dull household scissors to cut weatherstripping. High-density foam tears under blunt pressure, and the rigid plastic spline can splinter. Use a pair of sharp multi-angle shears or a fresh utility knife blade backed by a wooden cutting block to produce a clean, crisp ninety-degree cut.
Mitered versus Overlapped Corners
The upper corners—where the horizontal head piece meets the vertical side pieces—represent a critical draft zone. A careless gap here creates an instant air leak.
You can tackle this corner in two ways. The simplest method is a tight butt joint, where the head strip runs completely from side jamb to side jamb, and the two vertical legs butt flatly against its underside. However, the most airtight technique is an intentional lap joint: cut the rigid plastic spline square to fit the channel, but leave an extra quarter-inch of the outer vinyl jacket extending past the end. When you seat the vertical strip, this small flap overlaps the seam, completely blocking wind driven through the joint.
Seating the Spline Correctly
Starting at an upper corner, press the barbed spline into the kerf channel using your thumb. Work your way down the frame in short, four-inch increments.
Crucially, never pull or stretch the weatherstripping as you press it into the frame. Stretching the flexible foam while installing it creates internal tension; over the following weeks, the material will slowly contract back to its resting length, leaving an unsightly two-inch gap at the bottom of your door frame. Instead, feed the strip loosely, gently pushing it backward toward the starting corner as you seat the spine.
Securing the Door Bottom: Sweeps and Adjustable Thresholds
Air leaks along the sides and top of a door cause significant energy loss, but the bottom threshold is where crawling bugs, wind-driven rain, and freezing drafts infiltrate in the highest volume. Sealing the bottom requires coordinating the door sweep with the sill.
Calibrating an Adjustable Threshold
Before unscrewing or ripping off your old bottom door sweep, check the metal sill plate on your floor. Many residential exterior doors feature an adjustable threshold equipped with four or five large slotted screws spaced across the aluminum cap.
These screws do not hold the threshold down to the subfloor; they are jackscrews that raise and lower an internal wooden or composite saddle. Over time, heavy foot traffic pushes this saddle down, opening a gap beneath the door.
Turn each adjustment screw counterclockwise by one or two full rotations. Watch the saddle rise. Adjust the height evenly across the width of the opening until the flexible rubber sweep on the bottom of the door makes uniform, snug contact with the sill when closed. Often, a two-minute adjustment with a flathead screwdriver completely eliminates a bottom draft without buying any new parts.
Installing a Heavy-Duty Surface Sweep
If the threshold is raised fully and daylight still pours through, or if the rubber fin beneath the door has torn away, you need a replacement sweep.
For an easy install that does not require taking the heavy door off its hinges, choose a screw-on aluminum sweep featuring a durable EPDM or silicone fin. Measure the exact width of the door slab while it is shut. Use a hacksaw to cut the aluminum carrier to size, and use a utility knife to trim the rubber insert so it extends roughly one-sixteenth of an inch past the metal on each side.
Close the door completely and position the sweep on the interior side of an out-swing door, or the exterior side of an in-swing door. Press the sweep downward until the rubber fin makes uniform contact across the threshold saddle, flattening slightly without buckling into a wave. Mark the mounting screw holes with a pencil, drill small pilot holes to prevent splitting the wood or metal skin, and fasten the sweep using the provided screws.
Slotted mounting holes on quality sweeps allow you to fine-tune the height before tightening the screws down completely.
Troubleshooting Latch Resistance and Corner Gaps
After installing fresh, springy weatherstripping, you will likely notice that your door no longer latches with the same effortless click. This is completely normal: the new foam is doing its job by compressing firmly against the door slab.
However, you should not have to lean your full body weight into the door to get the deadbolt to turn. If the door requires excessive force to latch, address the strike plate rather than trimming down your new seals.
Adjusting the Strike Plate
Locate the metal strike plate mounted on the door jamb where the latch clicks into place. Most modern strike plates feature a small metal tab inside the central latch opening.
Insert a flathead screwdriver behind this tab and gently pry it outward by a millimeter or two toward the interior of the room. This adjustment allows the door latch to catch slightly earlier in its travel, giving the new weatherstripping the breathing room it needs to seat naturally without causing the door to bind. Over the course of two to three weeks, the fresh foam will adapt slightly to the door’s resting position while maintaining an airtight seal.
Sealing the Bottom Corner Pockets
Even in a meticulously installed system, an exterior door has an inherent structural vulnerability: the tiny spaces in the bottom left and right corners where the vertical jamb weatherstripping terminates just above the sloped threshold.
Air, spiders, and ladybugs routinely squeeze through this pencil-sized gap. The permanent fix is a pair of corner seal pads. These small, wedge-shaped foam pads feature an angled profile backed by aggressive adhesive tape. Peel the backing and stick the pad directly to the door jamb at the very bottom, tucked tightly against the vertical weatherstrip just above the threshold.
When the door swings shut, the bottom corner of the door slab compresses flat against the wedge, pinching off the final daylight hole and locking down the perimeter.
The Payoff of an Airtight Entryway
Taking the time to measure carefully, choose high-grade materials, and calibrate your door hardware eliminates drafts instantly. Your HVAC equipment stops fighting a continuous stream of escaping air, room temperatures near the entryway remain stable, and insects lose their easiest access point into your home. With basic maintenance—such as wiping down the vinyl jackets each spring and keeping the threshold clear of abrasive grit—your newly installed weatherstripping will keep your living space quiet, comfortable, and well-protected for years to come.