

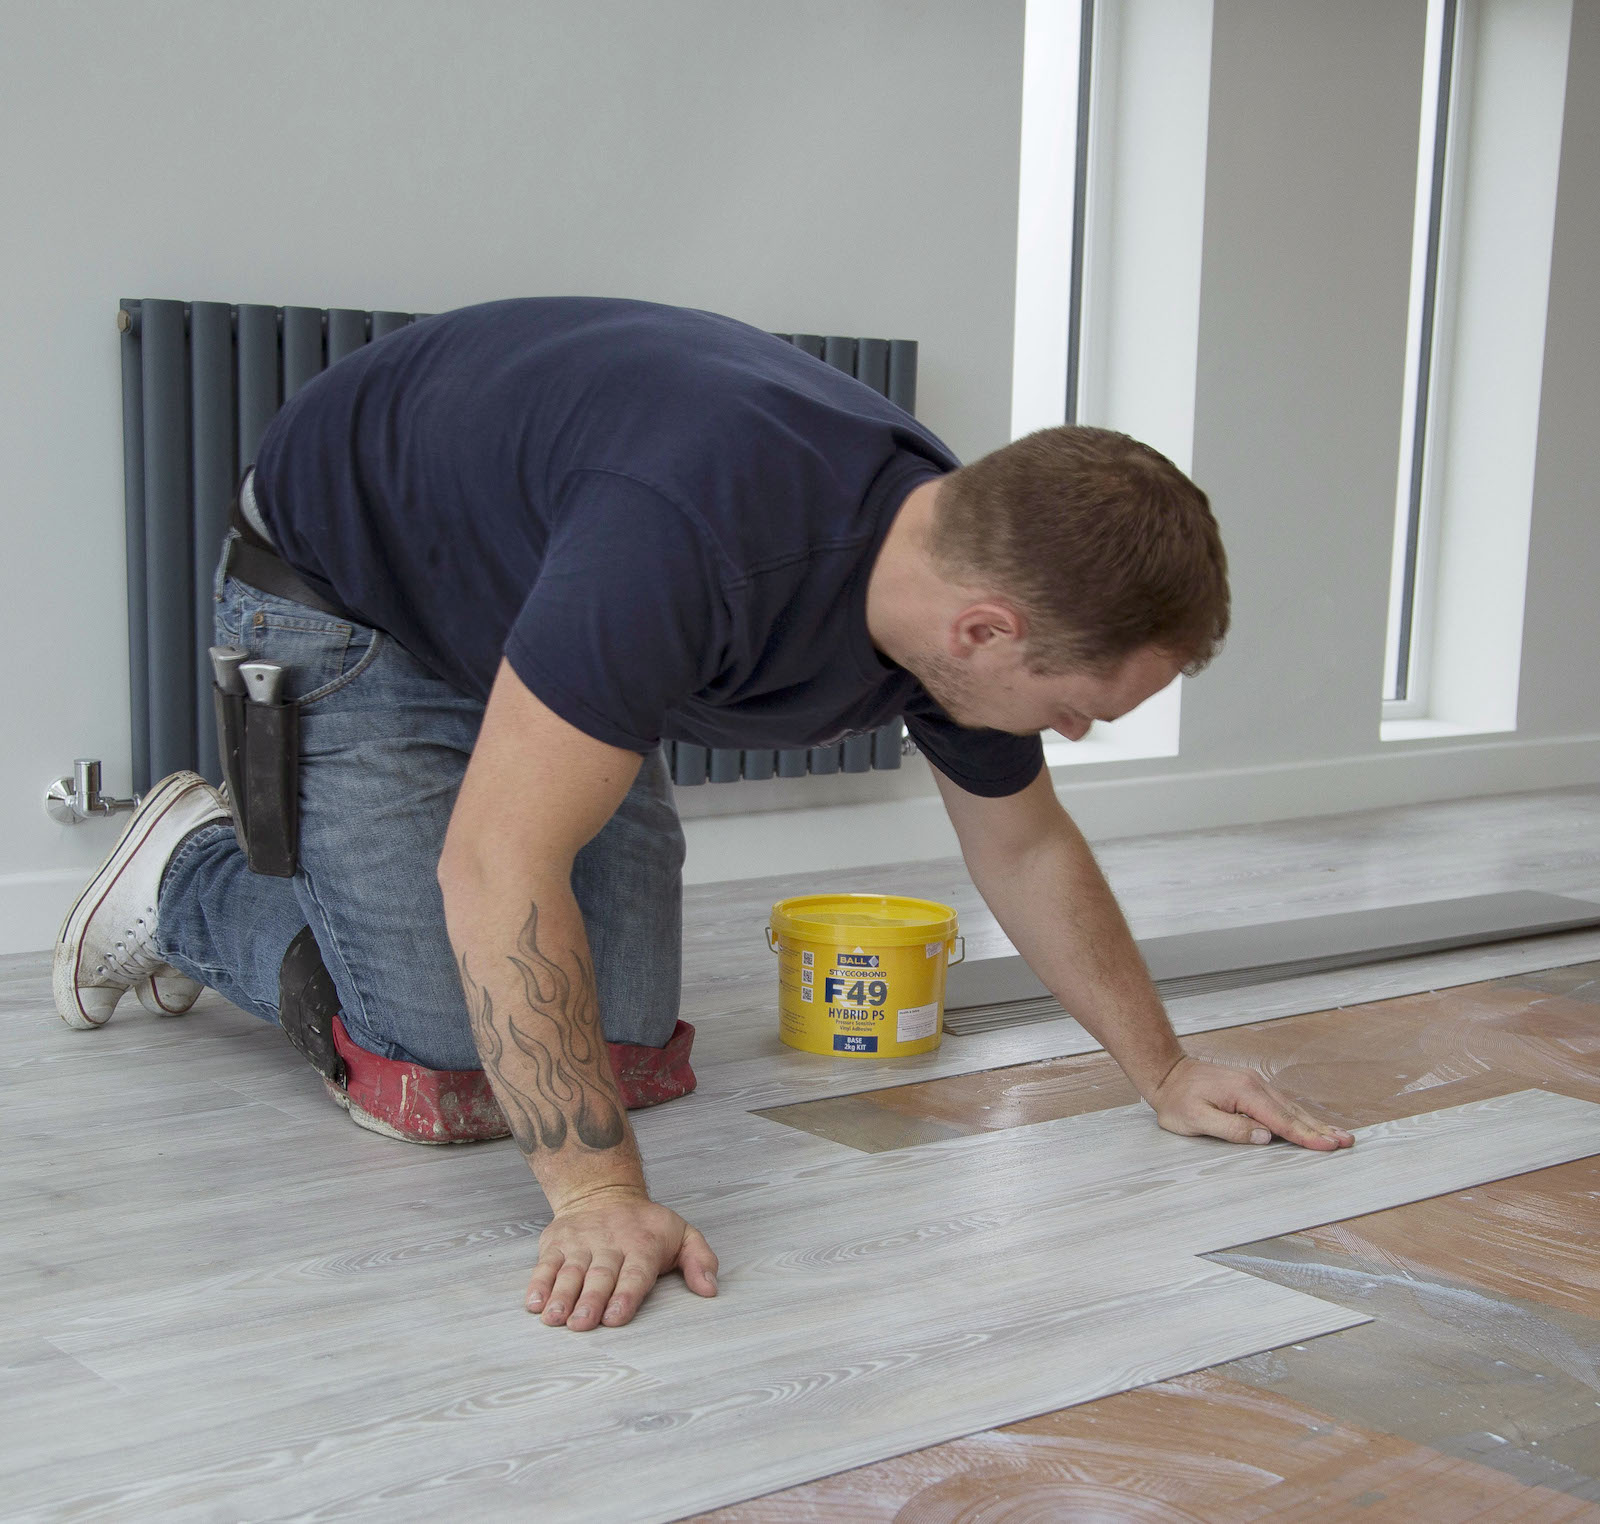
A lasting floor starts with what remains hidden underneath
A finished floor gets all the attention. People notice the color, pattern, texture, and way each section meets the wall. Yet the layer below the flooring often decides whether that clean appearance will last. Poor bonding can lead to movement, raised edges, shifting tiles, or gaps that become more visible over time. We prepared this guide for installers and property owners who want the hidden part of the project handled with equal care. A stable installation can be created with pressure-sensitive flooring adhesive selected for the flooring material, subfloor, traffic level, and manufacturer’s instructions. The adhesive is not a shortcut around good preparation. It performs best when each earlier step leaves it a clean, suitable surface.
This guide explains substrate checks, application, open time, placement, rolling, and cleanup. We will also look at why room conditions can affect the result. Pressure-sensitive products are often used with resilient flooring such as certain vinyl tiles, planks, or carpet tiles. However, compatibility differs between products. The installer must confirm the approved flooring types, trowel or roller method, coverage rate, and working time before opening the container. A simple test area can reveal problems that are difficult to correct across an entire room. Careful planning keeps the floor aligned, reduces wasted material, and makes the final installation easier to maintain.
What should you inspect before spreading any flooring adhesive
The subfloor must be clean, dry, smooth, and structurally sound. Dust can weaken contact between the adhesive and the surface. Paint, oil, old adhesive, curing compounds, and loose material may also prevent a dependable bond. Cracks or low areas should be repaired with products approved for the substrate. Moisture testing may be required for concrete floors. The room and materials should be in the condition specified by the manufacturer before work starts.
Check these points before application
- Confirm that the flooring and adhesive are compatible
- Remove dust, grease, paint, and loose residue
- Repair cracks, holes, and uneven surface areas
- Test concrete for moisture when required
- Review room temperature and humidity limits
Do not assume that a surface is dry because it looks dry. Moisture can remain below the visible layer. Keep test records when the project specifications require them. Once the surface passes inspection, protect it from new dust and foot traffic. Good preparation gives the adhesive the best chance to perform as intended.
How should adhesive application and open time be managed
Application should follow the product label rather than habit. Different adhesives may require a specific roller, trowel notch, or spread rate. Too much material can delay drying and create movement beneath the flooring. Too little may leave weak areas without full contact. Spread only the section that can be covered within the stated working time. Keep the coat even from one edge of the area to the other.
A useful application routine includes
- Mix or stir the product only as directed
- Use the exact recommended spreading tool
- Maintain a steady and even coverage rate
- Allow the required open time before placement
- Protect the adhesive from dust while it becomes ready
Pressure-sensitive adhesive often changes appearance or tack as it dries. Flooring placed too early may slide or trap wet adhesive. Material installed too late may not develop the required bond. Watch the actual adhesive rather than relying solely on the clock. Temperature, humidity, and airflow can affect how quickly the surface becomes ready.
Why does careful placement matter after the adhesive feels tacky
Once the adhesive reaches the proper stage, the flooring must be placed with control. Rushing can trap debris or leave misaligned seams that remain visible after rolling.
- Set a reliable starting line: Mark the layout before spreading the adhesive. Use the room shape and flooring pattern to choose a balanced starting point. A clear guide helps prevent rows from drifting.
- Place each section without sliding: Lower tiles or planks into position with care. Sliding may move adhesive or contaminate exposed edges. Check alignment before pressing the material firmly.
- Roll the floor in the required direction: Use the roller weight recommended for the flooring system. Work across the installed area in an organized pattern. Rolling improves contact and helps release trapped air.
- Correct problems while access remains easy: Inspect seams, corners, and edges as the work progresses. Replace contaminated pieces and correct alignment early. Small defects become harder to fix after the room is complete.
Follow the flooring maker’s limits for traffic, furniture, cleaning, and rolling. Premature use can disturb sections before the bond stabilizes. A disciplined placement process keeps the surface neat and reduces the need for later repairs.
What cleanup habits protect the flooring and finished bond
Adhesive on the flooring surface should be handled quickly and carefully. Use only the cleaner and method approved for the product. Strong solvents may stain flooring or weaken nearby adhesive. Keep clean cloths and suitable tools close to the work area. Change dirty water or cloths before residue spreads across more material. Never allow cleanup liquid to flood open seams.
Remember these final controls
- Remove fresh adhesive using the approved method
- Keep heavy traffic away for the stated period
- Avoid wet cleaning until the bond is ready
- Recheck edges and seams before leaving the site
- Store or discard leftover material as directed
Document the product name, batch details, and installation date when needed. These records can help with future maintenance or troubleshooting. A clean handover reflects the same care used beneath the flooring.
Let preparation carry the weight of the finished floor
Pressure-sensitive adhesive can support a neat and dependable installation when the full process is respected. We should begin with a tested substrate, follow the correct spread rate, observe open time, and place each flooring section with care. Rolling and cleanup then complete the bond without disturbing the surface. Never replace product instructions with guesswork, even when the room looks simple. Give the hidden layer enough attention, and the finished floor can stay smooth, steady, and ready for everyday use.