

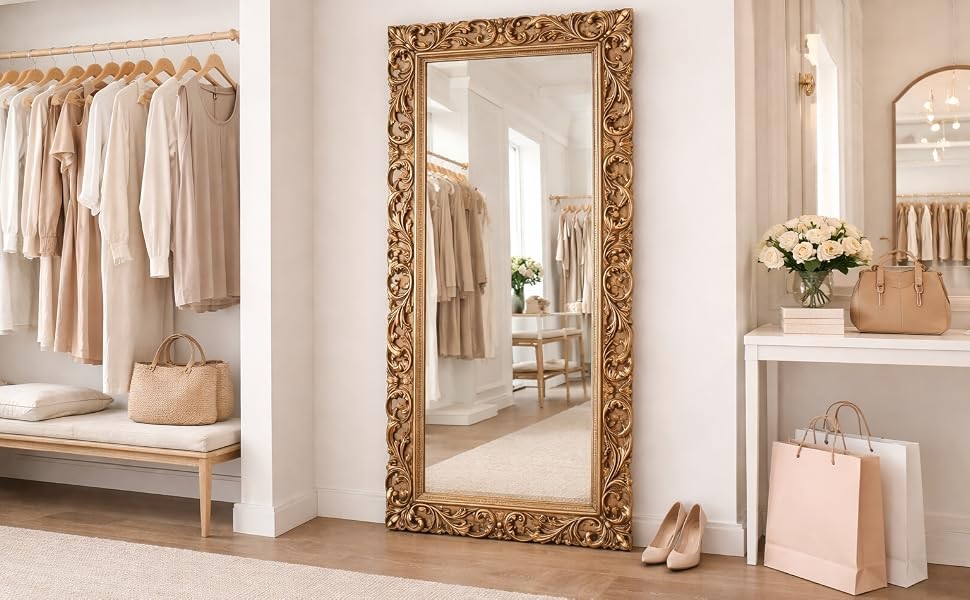
One overlooked mirror can change the mood of an entire room
Most bathroom updates begin with paint, hardware, or new lighting. The mirror often stays exactly where it has been for years. It may still work well, yet its bare edges can leave the room feeling unfinished. Replacing it may involve wall repairs, disposal, and the risk of damaging nearby tile. We prefer a simpler approach that keeps the existing glass while improving how it meets the room. A polished result can be achieved with an antique mirror framing kit that adds depth, detail, and a more established look to a plain wall mirror. This type of update can introduce character without asking homeowners to rebuild the entire vanity area.
This guide explores style, measurements, finish selection, installation planning, and visual balance. We will show how an antique-inspired frame can work in more than a traditional room. Warm bronze, aged silver, and dark metallic finishes can also soften modern bathrooms that feel too sharp or plain. Mirror framing systems may work around common clips, channels, backsplashes, and tight clearances when measured and ordered correctly. The goal is not to make a new frame appear genuinely centuries old. It is to bring warmth, texture, and a sense of permanence to a surface that once looked incomplete.
What antique frame style will suit the room around it
Begin by studying what is already present. Look at the faucet, cabinet pulls, lighting, tile, wall color, and countertop edge. The frame does not need to match every finish. It should connect with one or two details while adding its own personality. A bronze tone can warm a room with beige stone. A weathered silver finish may suit cooler tile or chrome fixtures.
Use these visual checks before choosing
- Compare the frame with the vanity hardware
- Notice whether the room needs warmth or contrast
- Match the frame width with the mirror size
- Review finish samples in daytime and evening light
- Avoid adding too many competing decorative details
A wide, detailed frame can anchor a large mirror. A slimmer profile may feel more natural in a compact room. Hold a sample beside the glass instead of viewing it alone. The mirror reflects nearby colors so that the final effect may change throughout the day.
How can accurate measuring prevent an awkward final fit
Measuring deserves more care than choosing the finish. A frame must relate to the mirror edges, wall space, clips, outlets, backsplash, and nearby fixtures. Small errors may affect how corners meet or how the frame sits around the glass. Measure the mirror itself rather than relying on an old invoice or a rough wall estimate. Check each side because walls and mirrors are not always perfectly square.
A useful measuring routine includes
- Record the exact mirror width and height
- Note every clip channel and raised obstruction
- Measure the space above the backsplash
- Check clearance near walls, lights, and cabinets
- Repeat all measurements before ordering
MirrorMate states that its frames can work with mirror clips and channels, against a backsplash, and without added clearance in suitable installations. Even so, the product instructions should guide every measurement. Take clear photos while measuring. They can help when reviewing unusual corners or tight spaces.
Why should installation begin with a clean and careful setup
A successful installation starts before any frame section touches the mirror. Clear the vanity and protect the sink, faucet, and countertop. Clean the mirror edges to prevent dust, moisture, and residue from interfering with the process. Lay out each frame piece in order. Check the corner alignment before removing protective backing or making a permanent connection. Slow preparation makes the final steps much easier.
- Dry-fit the full frame
Place the sections together on a protected surface. Confirm the pattern and corner direction. This reveals mistakes while they are still easy to correct.
- Clean the contact areas
Use the cleaning method stated in the instructions. Allow the surface to dry fully. Trapped moisture can weaken an otherwise careful setup.
- Mark the final position
Use light reference marks or approved guides. Check that the frame appears level from several steps away. A second person can help with larger mirrors.
- Secure each section in sequence
Follow the maker’s installation order. Press or connect each area evenly rather than rushing one corner. Review the full frame before clearing the workspace.
What details help the framed mirror feel original to the home
The frame should look intentional rather than added at the last minute. Repeat its tone through one or two nearby details, such as a tray, light fitting, or cabinet handle. Keep the rest of the decor restrained. Antique finishes already carry texture and visual movement. Too many patterned objects can make the vanity feel busy. Soft towels and simple accessories often create a better balance.
Remember these finishing ideas
- Repeat the frame tone in one small accent
- Keep the countertop mostly clear
- Use lighting that reveals texture without glare
- Let the mirror remain the main feature
Step into the hallway and view the room from outside. That distance often reveals whether the frame feels too heavy or perfectly settled. A thoughtful final arrangement helps the update appear as though it has always belonged there.
Let a familiar mirror become the room’s most finished feature
A framed mirror can change a bathroom without changing the room’s basic structure. Good results come from choosing a suitable finish, measuring carefully, preparing the surface, and keeping nearby decor simple. We suggest comparing real samples beside the mirror before making the final choice. Notice how each option responds to the light and existing hardware. Then complete the installation without rushing the early checks. Give that plain mirror the attention it has been missing, and let one well-chosen frame bring a warmer story into the room.